A new guitar has been in a box, in a warehouse, on a lorry, and possibly hanging in a shop for months. Nobody has tuned it since it was assembled. Twenty minutes of checks now saves months of blaming yourself for something the instrument is doing.
1. Look it over before you play it
Hold it up to a light and look along the neck from the headstock end. You are looking for anything obviously wrong: a twist, a visible gap where the neck meets the body, a lifting bridge on an acoustic, a crack anywhere.
Then run your hand slowly down both edges of the fingerboard. Sharp fret ends catch — they feel like tiny fingernails. This is extremely common on new guitars that have traveled from a humid factory to a dry house, and it is a fixable job rather than a defect. It is also the sort of thing worth raising with a shop in the first week rather than the fourth month.
If anything on this list looks structural rather than cosmetic, stop and talk to whoever sold it to you before doing anything else.
2. Tune it, properly, and expect it to drift
A brand-new guitar with brand-new strings will not hold its tuning for the first few days. Strings stretch, the neck settles under tension, and a guitar that has just been shipped is coming to terms with a different temperature and humidity than it left in.
Clip on a tuner and tune all six strings. Then play a few chords, and tune again. Then do it again. This is normal and it stops after a few days. If a single string goes flat repeatedly while the others hold, the winding at the tuning post is probably slipping — the fix is to restring that one properly rather than to keep tuning it.
If you have never done this, how to use a clip-on tuner covers the part that trips everyone up: which way to turn the peg, and how to approach the note from below.
3. Find out whether the action is why it feels hard
"Action" is how far the strings sit above the frets. Too high and every chord takes more force than it should; barre chords feel impossible, and beginners conclude their hands are too weak.
A rough check anyone can do: fret the low E string at the first fret and at the fourteenth at the same time, then look at the gap between the string and the seventh or eighth fret. There should be a very small gap — enough to see light, not enough to be obvious. A large gap means the neck has too much forward bow; no gap at all means it is dead flat or back-bowed. Either is a truss-rod matter and neither is a beginner job.
Separately, look at the height of the strings above the twelfth fret. If it looks like a lot, it probably is. Guitar action too high gives you the actual numbers to compare against and, more importantly, says clearly which adjustments to leave alone.
4. Learn where the parts are
Not glamorous, and it makes everything else easier to follow:
- Nut — the slotted strip at the top of the fingerboard where the strings leave the headstock.
- Saddle — the strip in the bridge the strings pass over at the body end. On an electric, individual saddles per string.
- Bridge pins — on most acoustics, the six pegs holding the string ends into the bridge. These need a proper puller.
- Truss rod — a steel rod inside the neck that controls its bow. The adjustment nut is usually behind a small cover on the headstock or inside the soundhole. Leave it alone for now.
- Tuning machines — the geared pegs on the headstock.
5. Wipe it down, and keep doing that
The single highest-return maintenance habit is wiping the strings and the fingerboard with a dry cloth after every session. Sweat and skin oil are what kill strings, and thirty seconds with a cloth genuinely doubles how long a set stays bright.
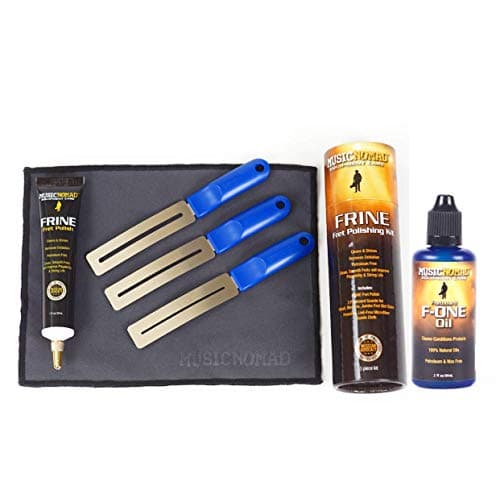
You do not need a product for this yet — a clean, dry microfiber cloth is enough. When you do buy a care product, buy one whose maker publishes which finishes it is safe on. MusicNomad states explicitly that its Guitar ONE polish is safe on all gloss finishes including nitrocellulose and is not recommended for satin or matte, which is more finish guidance than most of this category offers. See how to clean your guitar.
What we did not doWe have not played any of this gear. Every guide in this category says it tested twenty tuners; we would rather say plainly that we tested none. What we did instead is on this page in full: published specifications with their sources, the makers' own manuals read rather than paraphrased, and a note wherever a company publishes nothing at all.
Then stop preparing and start playing
There is a failure mode where a new player spends three weeks researching accessories and no time playing. The checks above take twenty minutes. The rest of the first month should be chord shapes and sore fingertips.
When you are ready to buy the short list of things the guitar actually needs, the first-guitar checklist is that list, in order, with nothing padded into it.